NS1 Deployment Guide
Contact SupportFollow this visual guide after the NS1 has been added to the MOCREO Smart App and confirmed online.
Follow this visual guide after the NS1 has been added to the MOCREO Smart App and confirmed online.
NS1 DEPLOYMENT MAP
Keep the body connected. Put the probe where it measures.
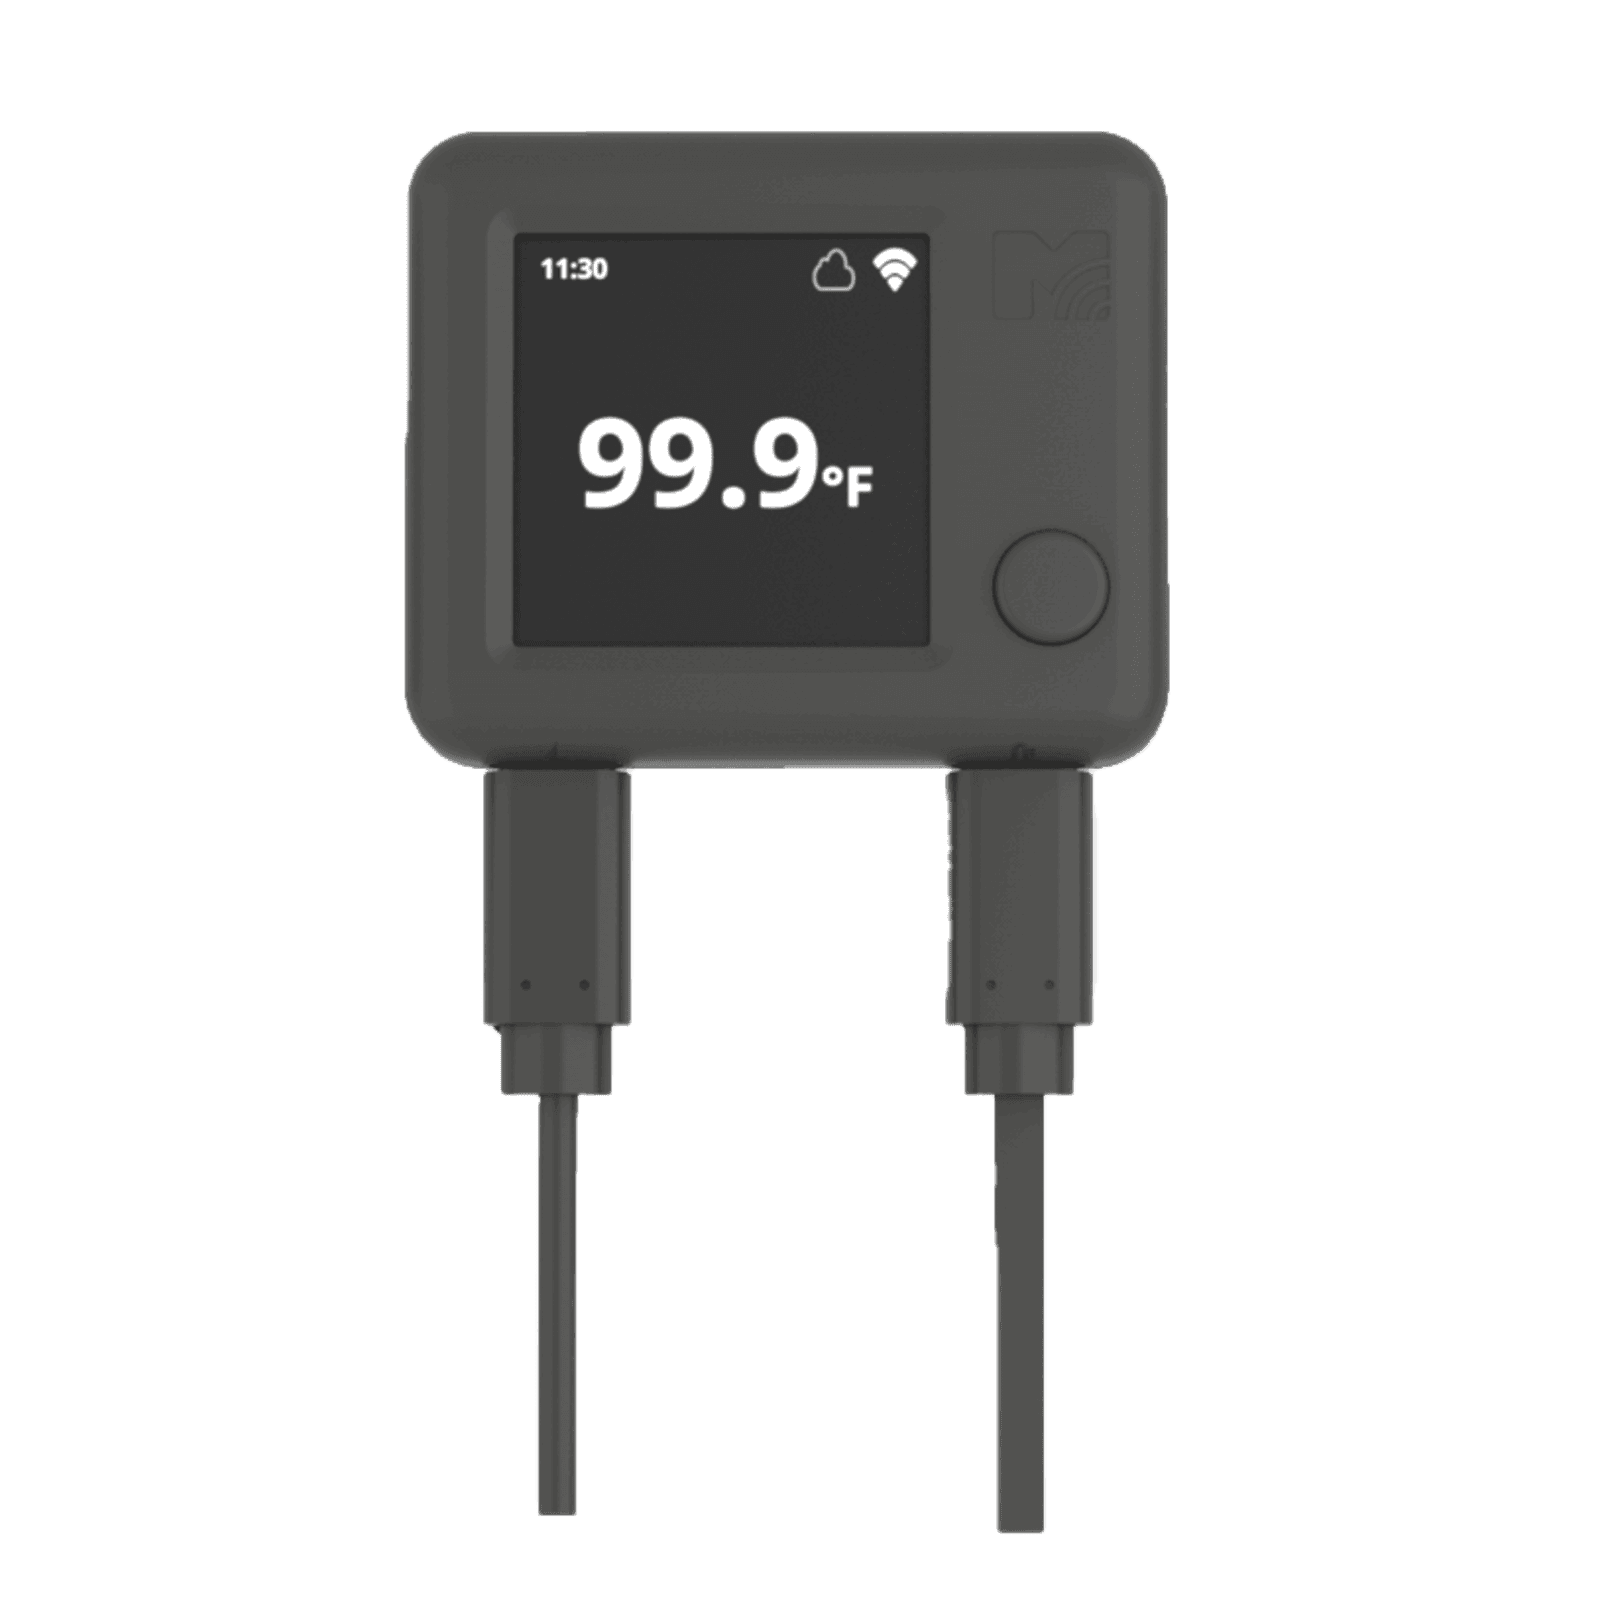
ZONE 01 · OUTSIDE
Mount the NS1 body
Use the adhesive fastener on a dry exterior surface with reliable USB power and Wi-Fi.
ZONE 02 · DOOR SEAL
Route the probe cable
Follow the hinge side where movement is smallest. Confirm the door closes without pinching the cable.
ZONE 03 · INSIDE
Place only the probe
Position it near the middle of the monitored space, clear of food, walls, fans, and cooling outlets.
Keep the probe away from direct cold airflow to avoid readings that do not represent the whole compartment.
Close the door, then confirm Wi-Fi status and verify that the latest temperature time continues to update.
Mounting Steps
- Clean and dry the exterior mounting surface.
- Attach one side of the adhesive fastener to the NS1 and the other side to the mounting surface.
- Connect USB power and confirm that the selected location has reliable Wi-Fi.
- Route the external probe cable into the monitored space without sharply bending or pinching it.
- Secure the probe so air can circulate around it.
Choose a Representative Location
Recommended
Use the middle area of the refrigerator or freezer, away from direct airflow and with space around the probe.
Avoid
Do not let the probe touch food, cooling walls, fans, vents, heaters, or other local hot and cold spots.
Verify After Deployment
- Confirm the refrigerator or freezer door closes and seals normally.
- Confirm the NS1 remains online after the door is closed.
- Check that the latest temperature timestamp continues to update.
- Compare several readings before setting alert thresholds.
Protect the main unit
Keep the NS1 body and USB power connection dry. Only the external probe should be placed in a high-humidity or condensation-prone compartment.